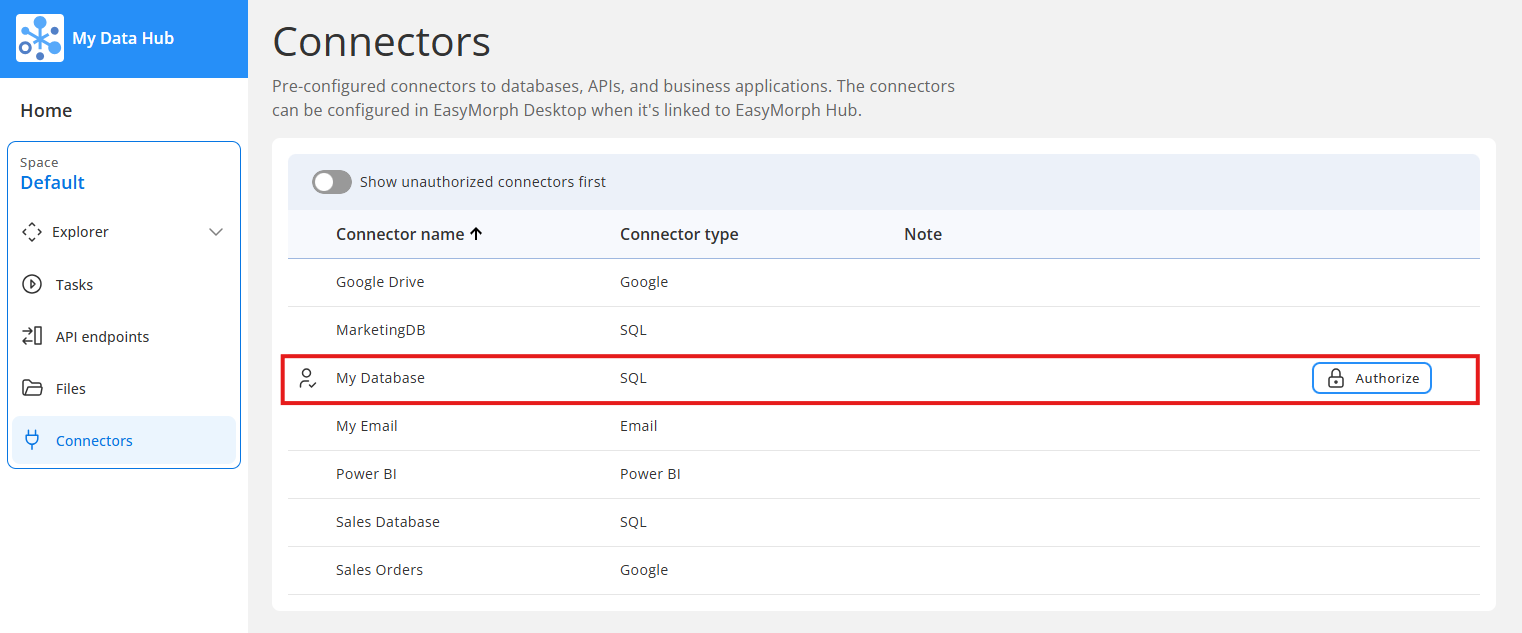
In these tutorials so far, we’ve looked at many examples of both loading data from files into EasyMorph, as well as saving data from EasyMorph into files. There are an almost endless number of other possible sources, systems, and tools which we can also load data from and send data to. Just a few examples include:
- Databases such as Microsoft SQL Server, Oracle DB, PostgreSQL, MariaDB, DuckDB and many more.
- Business systems such as Salesforce, ServiceNow and Zendesk.
- File storage services including Microsoft OneDrive, Google Drive, Dropbox, Amazon S3 and Azure Blob storage.
- Messaging tools such as Microsoft Teams and Slack.
- Business Intelligence tools including Tableau, Power BI and Qlik.
- And more…
Tip: You can find more information on all of the databases, systems and standard protocols which EasyMorph integrates with on our website.
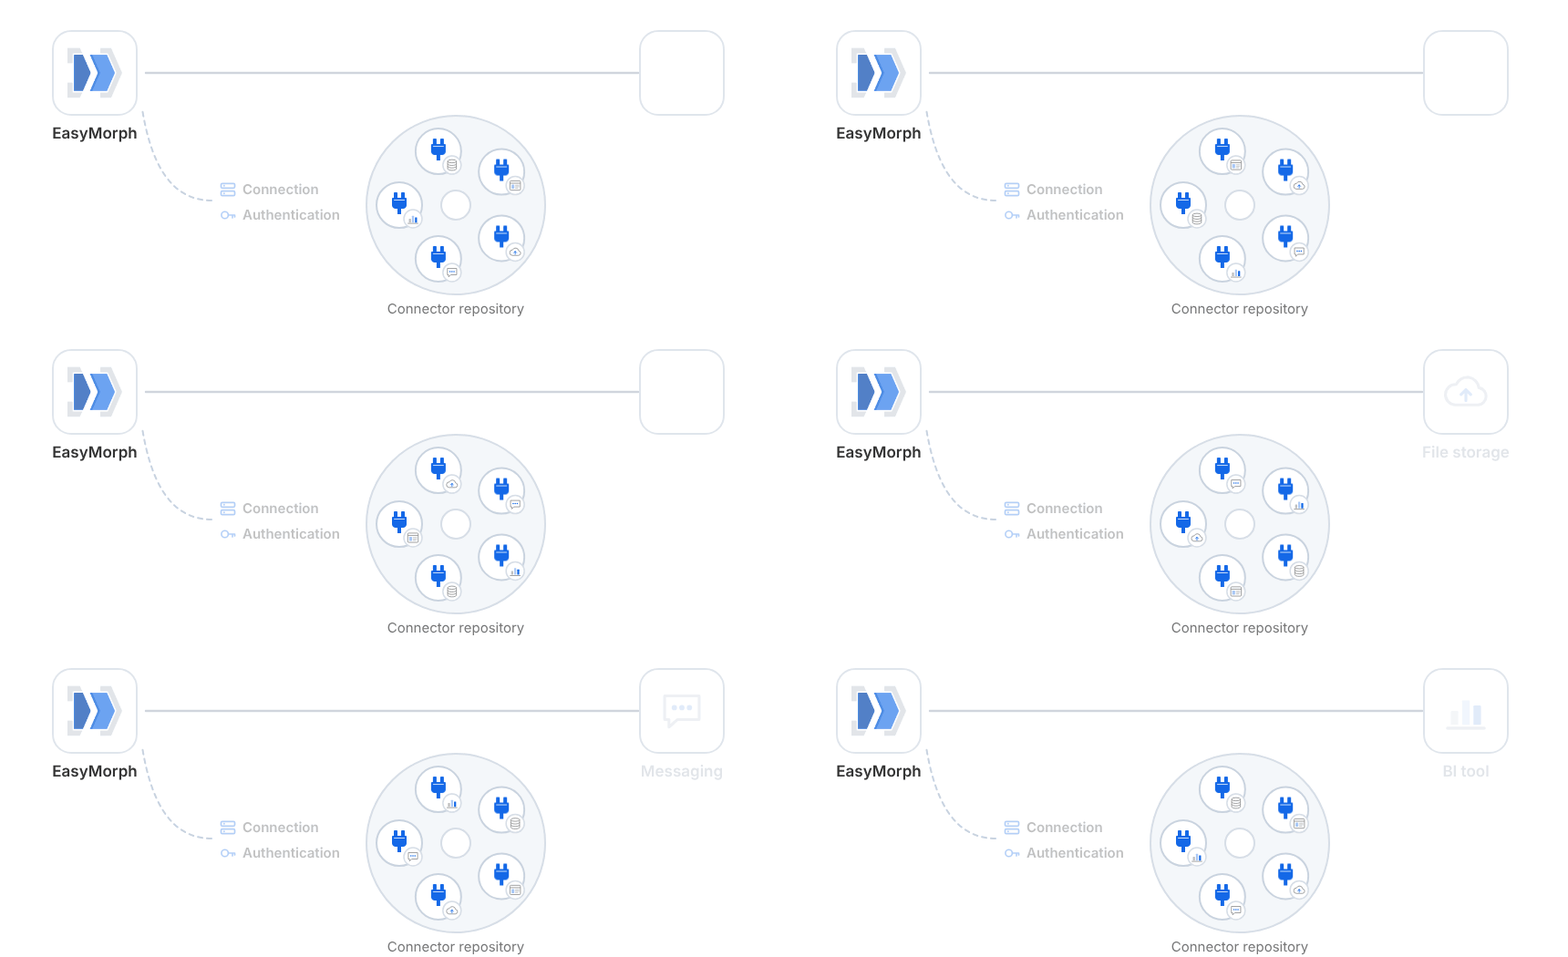
In order to connect EasyMorph to any of these other sources and systems, we normally need to provide two types of information:
- Connection - The details necessary for connecting to the relevant system such as the server address or URL, port numbers, etc.
- Authentication - The username and password, API key or other authentication details required to access the system.
In EasyMorph, we provide this information by creating connectors. Once created, any actions which interact with the database or system then use this connector. This means if we need to change the connection information, we can change it in the connector and all actions will effectively inherit the changes.
The Connector Manager
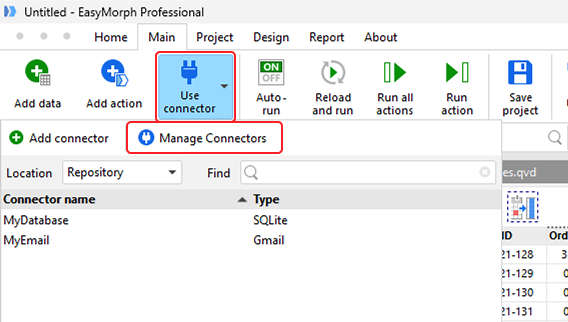
In EasyMorph we create and manage connectors in the Connector Manager. The Connector Manager can be accessed by clicking on the Use connector button on the top navigation bar, and then Manage connectors.
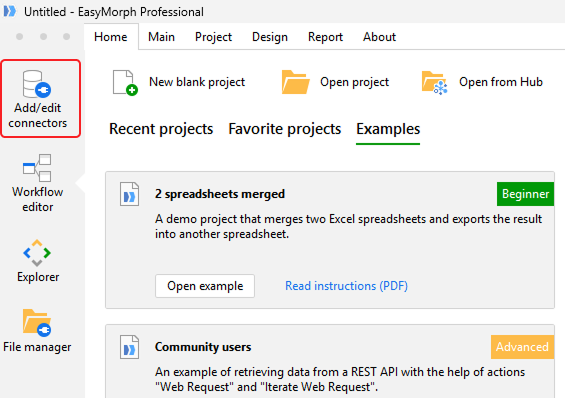
Alternatively, the Connector Manager can also be accessed from the Home tab by clicking on Add/edit connectors at the top of the left-hand features list.
Tip: Wherever you are in EasyMorph, pressing the F7 key will take you straight to the Connector Manager also.
The Connector Manager allows us to:
- Create, edit and delete connectors
- Filter and search all connectors
- Switch between a Hub space repository, and one or more repository files
- Create new repository files
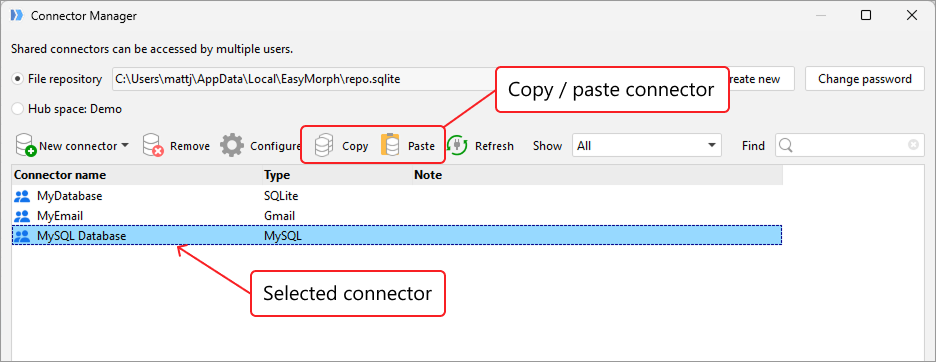
- Copy and paste connectors between repositories
Creating and editing connectors
With the Connector Manager open, we can now begin creating a connector. If we click on New connector it opens a menu containing all the available connector types for us to choose from.
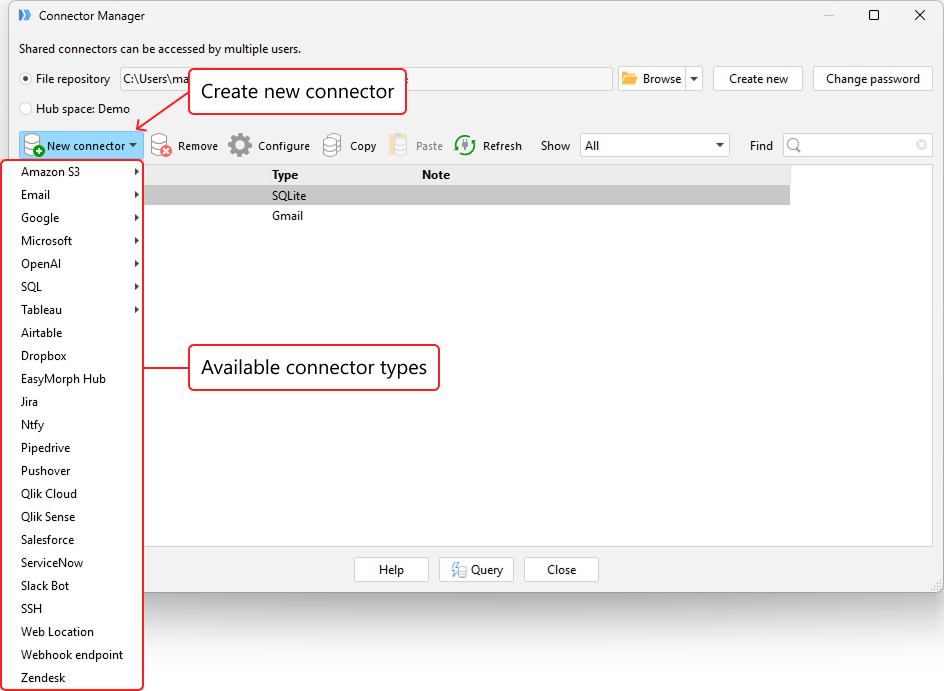
With so many connector types, it would be impractical for us to cover them in this tutorial. Thankfully, the process of creating any connector is fundamentally the same, with the main difference being what settings each type requires. Let’s look at creating a database connector as an example.
For a database, I select the SQL type and then the relevant option based on the type of database I am trying to connect to. In this example, I’m connecting EasyMorph to a MySQL database.
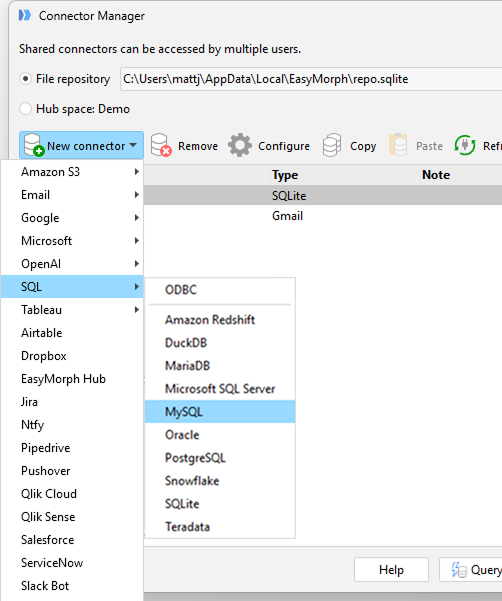
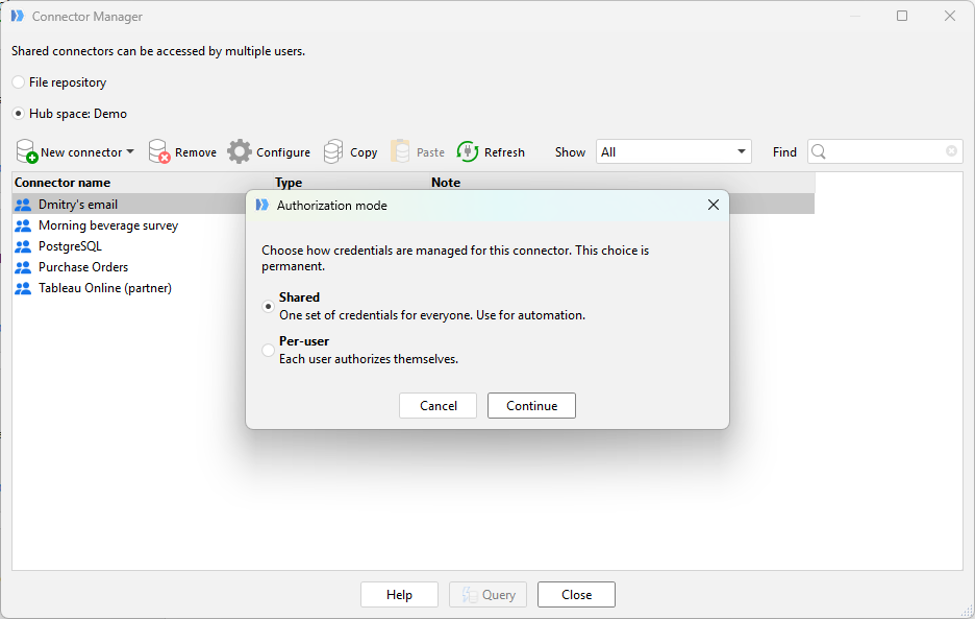
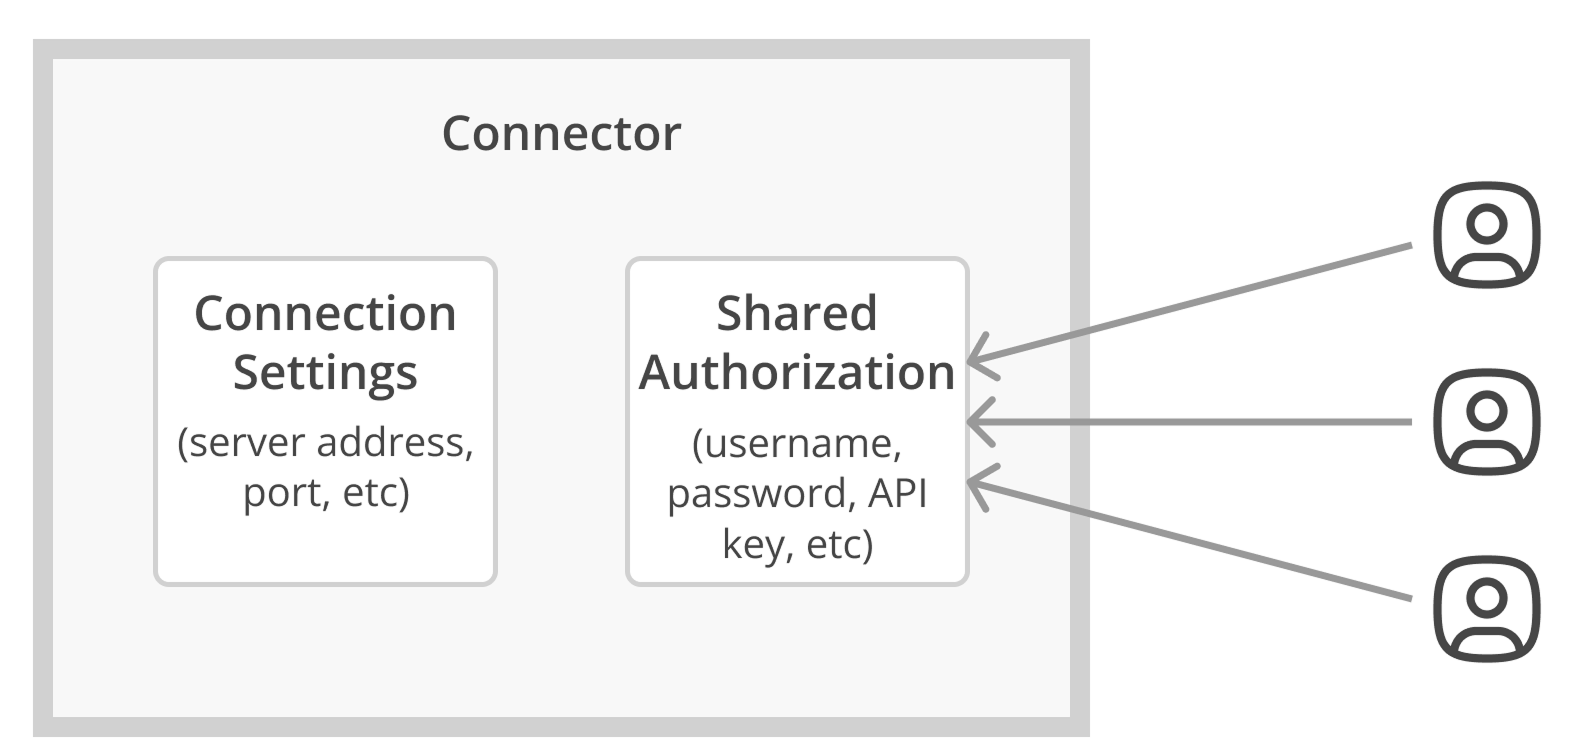
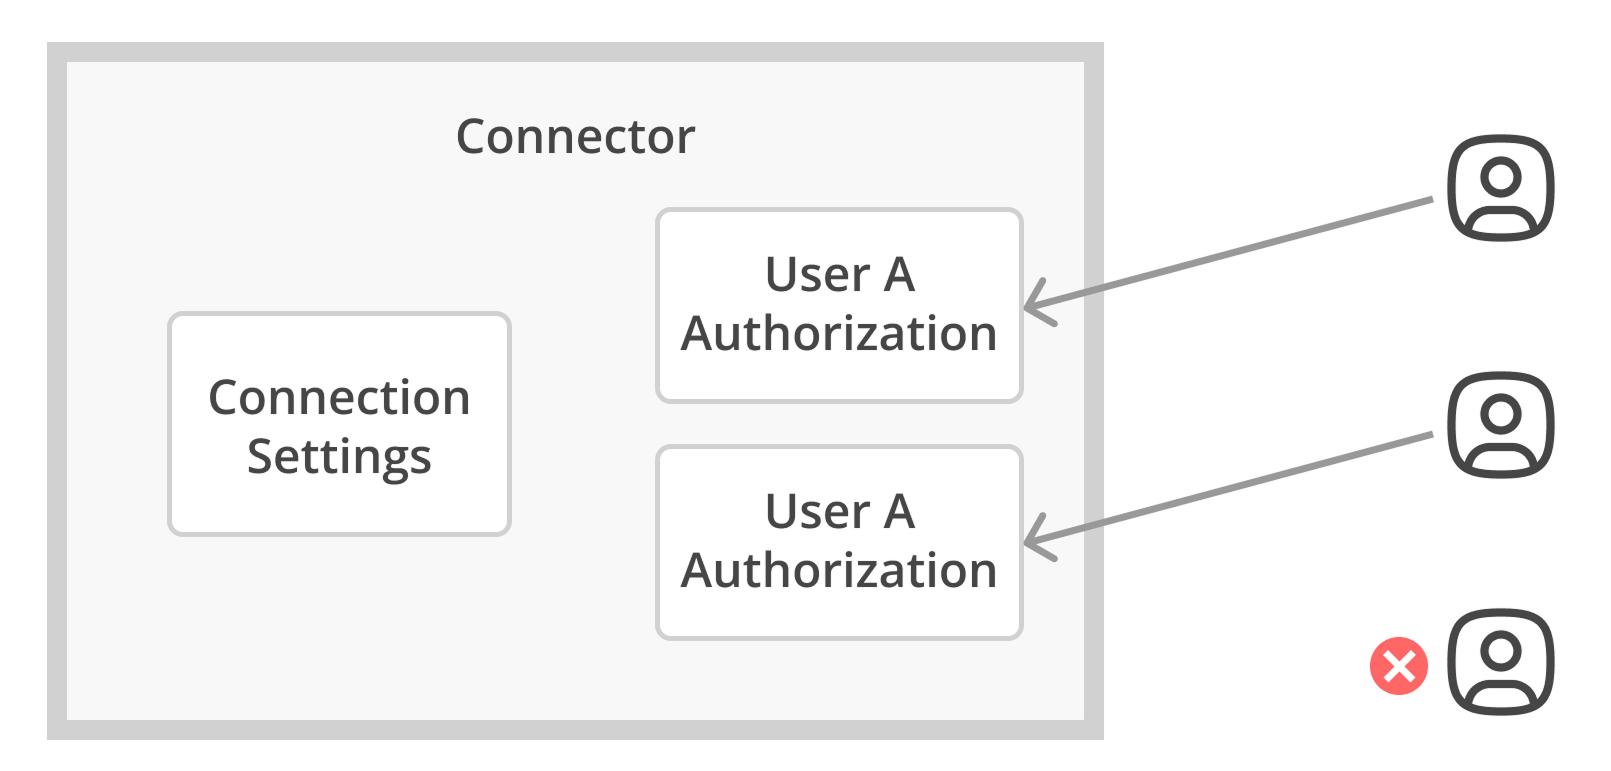
Important: If you are creating a connector in a Hub space repository, you may be prompted whether you want to create a “Shared” or “Per-user” authorization connector. For more information on this, see the Shared vs per-user authorization section in the Topics for power users at the bottom of this tutorial chapter.
We next need to configure the relevant settings for the connector we are creating. For our MySQL database we need to enter the server address and port as well as a username and password. For more information on the settings needed for other databases and systems, check out the EasyMorph help and/or contact the system owner or administrator.
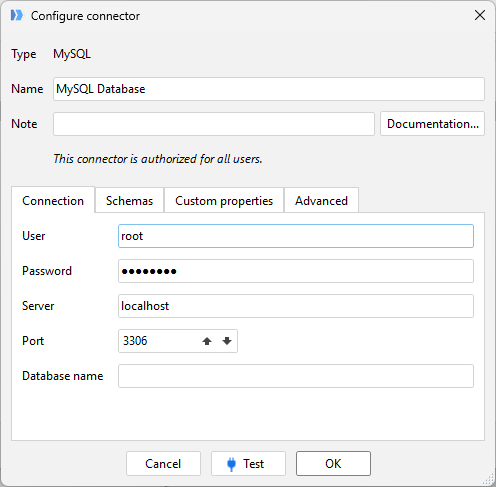
Once the settings for the database are entered, we can click on the Test button at the bottom of the window to check whether or not EasyMorph is able to connect to the database. If it is, we can click OK and our connector will now appear in the list within the Connector Manager and is ready for us to begin using.
If we need to edit the configuration of an existing connector, we can double-click on the connector in the list within the Connector Manager which will open the same connector settings dialog as seen above.
We can also delete a connector by selecting it in the list and clicking on the “Remove” button at the top of the list.
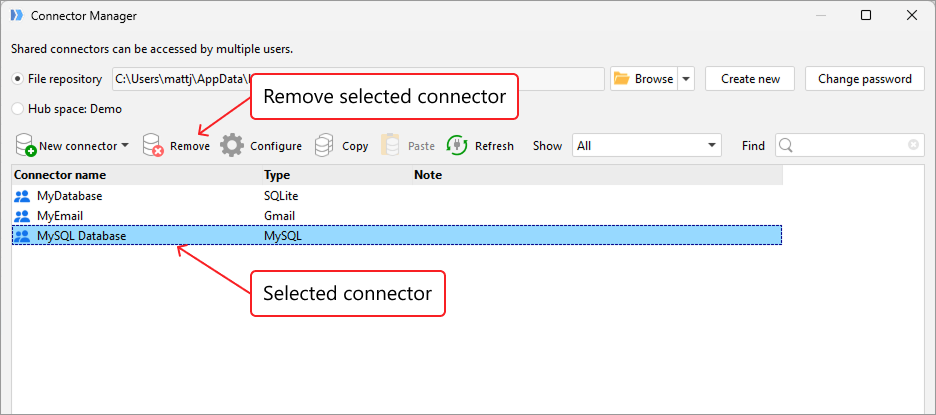
Connector repositories
When we create connectors, EasyMorph stores them in a connector repository. These repositories can be in two possible locations:
- File repository - in a file, usually stored locally on the computer EasyMorph is installed on.
- EasyMorph Hub space - each space of an EasyMorph Hub also has a shared repository of connectors.
Note: To be able to create and manage connectors in an EasyMorph Hub space repository, you first need to link EasyMorph Hub to EasyMorph Desktop. For more information on how to do this, see the Hub Link chapter of these tutorials.
Switching between repositories
At the top of the Connector Manager are several options to switch between different connector repositories. When connected to an EasyMorph Hub, we can switch between managing connectors in a file repository or those stored in the connected Hub space.
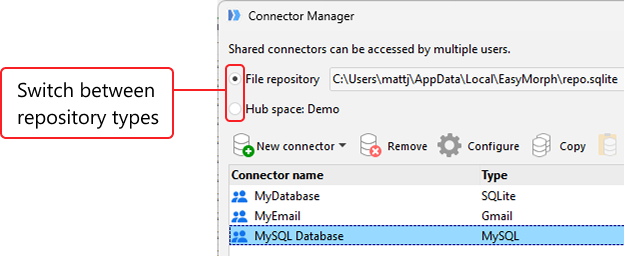
Next to the Hub space option, EasyMorph displays the name of the currently linked space. For details of how to switch to a different space, see the Hub Link chapter of these tutorials.
Repository files
On first launch, EasyMorph automatically creates an empty repository file (in AppData\Local\EasyMorph\repo.sqlite) if no repository is present. You can move or create new repository files from within the Connector Manager as needed.
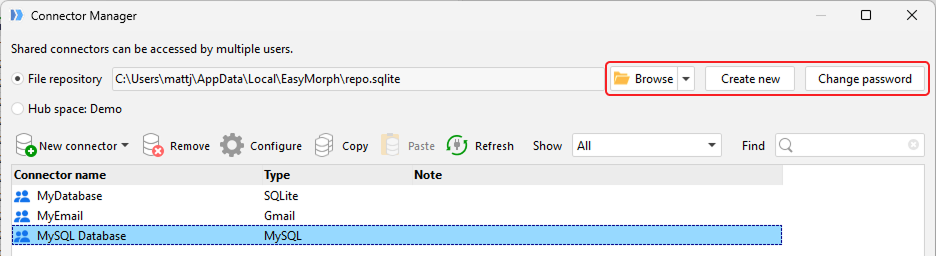
Note: It is possible to secure a repository file from being changed using a password. Note that users will still be able to use (read) all Connectors within a repository even when it is protected with a password. To protect a repository file from unauthorized access, you can use standard Windows file permissions applied to the repository file. Or better still, move the Connector to an EasyMorph Hub repository instead.
Using connectors
Once we have created a connect, we can begin using it within our workflows. The actions available to use the connector will vary depending on the type of database or system the connector is for.
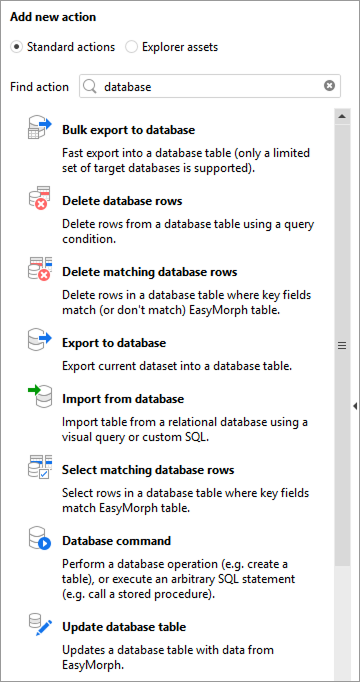
For example, for the above created database connector, we can use any of the database actions to:
- Import data from the database
- Export data to the database
- Delete data from a table in the database
- Create, delete or modify a table in the database
- Run any SQL command
- And more…
In the next few tutorial chapters, we’ll look in more detail at how you can load data from and send data to databases and other business systems.