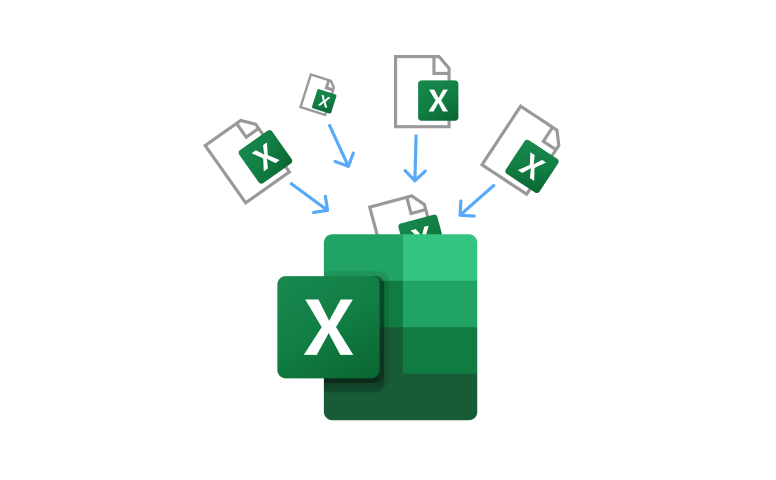
Over a million organizations work with Excel on a daily basis. And that typically means those teams will have to consolidate data at some point to create reports or perform analysis. When consolidating data, oftentimes those team members will have to open a stack of Excel workbooks, copy columns and rows from different files, make columns match, stitch everything together into a single report, and do many other manipulations with the data.
This process is manual and it works, until it doesn't. If you miss one sheet or a column is misaligned, the whole report is off. And to make matters worse, it can take hours of tedious boring work to consolidate that data.
The good news is that there are tools that let you automatically consolidate multiple Excel files into one. A good option is using a visual workflow tool like EasyMorph, and you can consolidate as many files as you want without writing a single line of code, as well as automate many other operations that are typically done manually in Excel.
That's why we put together this article to walk you through replacing that manual process with a simple, repeatable approach that pulls in your data, cleans it, and exports it into a single Excel file in seconds.
Why Manual Consolidation Breaks Down
Many teams start consolidating Excel files manually. What this typically means is that they open each spreadsheet, copy the rows and columns, paste them into a master sheet and then move onto the next file. If you have a few files, it's easy. But if you have dozens of files or more from different departments, locations, or systems, the process quickly creates errors and wastes a lot of time.
Here are just a few problems that arise from manual consolidation, typically because of mistakes that any human can make:
- Inconsistent column names or column order across files
- Mixed date formats, extra whitespace, and duplicate rows
- Forgotten files or sheets that silently drop data from the final report
- No audit trail showing where each row originated
Teams in various organizations try to solve these issues with built-in Excel tools like Power Query or Macros. Power Query can help Excel users combine files together from the same folder and do some light transformations of data before it reaches a spreadsheet. But Excel users typically rely on Macros when involving more files or custom transformation logic. Macros can be extremely useful for repetitive Excel tasks, but they can also be limited in terms of what they can do as things become more advanced.
Where Excel Macros Fall Short
Excel macros are used to automate several spreadsheet tasks that keep coming up. For example, many Excel-heavy teams use macros to copy data, combine information from many files into one spreadsheet, or format reports.
But as consolidation workflows become more advanced, limitations start to show.
One of the enormous advantages of macros is that they can help automate tasks inside Excel. However, scheduling and hands-off execution is very limited without additional tools, scripts, or some kind of external setup. Secondly, they tend to be much more difficult to maintain over time, like when you need to use a macro for different file names, folder structures, or reports.
And to make matters worse, it's more difficult to retrieve files from email attachments, cloud storage, or FTP servers. It's definitely possible to do so, but it requires more complex VBA code that a lot of Excel users don't have the time to learn or some kind of custom integration that business users are not comfortable managing.
The other disadvantage of macros is that their error handling can be fragile. For example, when a source file is missing, renamed, or formatted differently than what a macro was set up to run with, it can break the built-in logic of the process unless the user changes the macro steps.
Note: This is mostly the same for all data transformation tools, which means you need to build extra logic to your workflow in case file names or the structure of your files changes.
Last, sharing and collaboration can be limited. Many of these workflows live inside individual Excel files, which can make them more difficult to reuse, document, or share reliably across various teams.
These disadvantages and challenges tend to increase as consolidation and reporting grow more complex. That's why many Excel teams look for different tools that are not only more flexible but serve as an easier way to consolidate files or deliver an automated report.
A Better Approach: Visual Workflow Automation
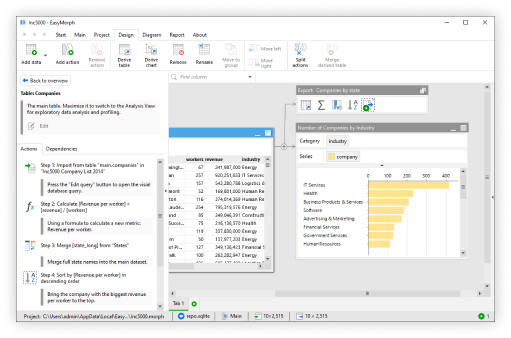
EasyMorph is a desktop application that was designed exactly for this kind of consolidation work. Instead of writing large amounts of code or relying on formulas to get the job done, you can build a visual workflow by dragging and chaining what are called "actions". These are workflow steps that represent a data transformation or some other operation, such as sending an email.
For example, an action might represent importing a file, renaming a column, filtering, and merging tables. After it's built, the whole workflow can be executed with just a single button click, thus eliminating manual work entirely. And if you'd like to audit your workflow, you can simply click on the action and see precisely what the data looks like at each step.
Here is how a typical file consolidation workflow comes together in EasyMorph.
Step 1: Collect Your Files
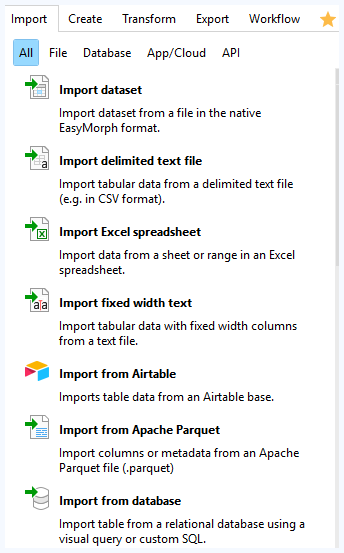
The first step in any consolidation process is importing your data. In our case, it would be importing Excel spreadsheets or workbooks. What's nice about EasyMorph is that it can pull Excel and CSV files from local folders, email attachments, network drives, FTP servers, and cloud storage like Amazon S3, Google Drive, and SharePoint.
Once you create a connector, you can use any file that's in that location. So if a new file appears in the same folder you've already connected to in the past, the same workflow can display and use those files.
Tip: If your files arrive as email attachments, EasyMorph can connect to your mailbox, download the attachments, and feed them directly into the workflow.
Step 2: Combine Multiple Files into One Dataset
Something to keep in mind is that if your files follow a similar format (same columns), you can just drag and drop them into EasyMorph or import them and EasyMorph will automatically consolidate your files. When you drag and drop files, they are loaded in a single action. So, if you load 2 files in separate actions (like dragging them one at a time), they won't be merged automatically even if they follow the same format.
After you've imported your files, the next step is to combine them. EasyMorph's Append action lets you stack rows from any file into one table. If your files share the same column structure, you can simply just add the Append action and select the tables you want to append.
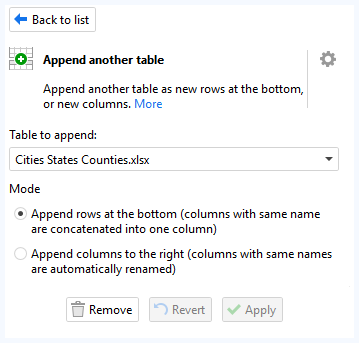
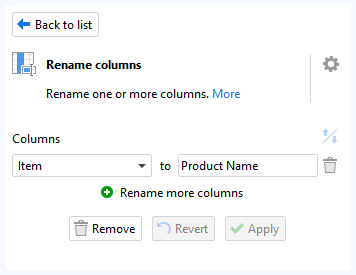
However, if the column names vary across files — for instance, one file uses the column "Product Name" while another uses the column "Item" — you can add a Rename columns action before the Append action, so both tables automatically sort data in the same columns.
Step 3: Clean and Standardize the Data
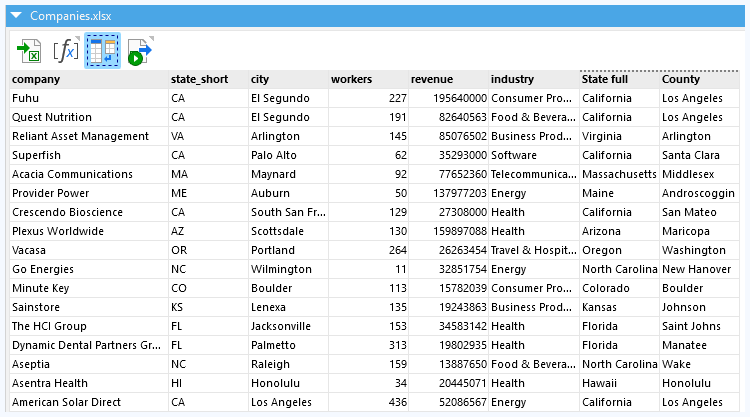
Now in most cases, raw data from multiple Excel files is inconsistent. That means you need to standardize that data by transforming it and making it usable. Some of the ways in which you can standardize data is by trimming whitespace, standardizing date formats, removing duplicates, or filling in missing values.
In EasyMorph, we wanted to make things easy for Excel users (hence the name EasyMorph). So to do each of these operations, we have actions. You can simply click "Find Action" and type in what you'd like to do and EasyMorph will try to find that action.
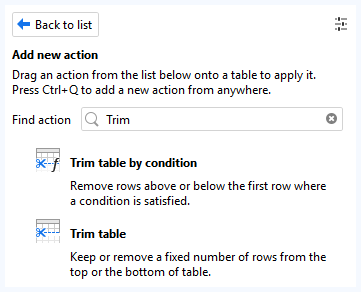
If you cannot find the action, try enabling Extended search at the bottom and you'll see more options for what you can do.

After adding your transformations, you can preview the transformed results of your data. All you have to do is click on the action in the table and it will show you what the data looks like after the action has been completed.
Tip: If you have problems adding transformations, there is a "Help me choose" dialogue at the bottom of the search function, which can be helpful for finding the action you need.
Adding transformations like this makes it much easier to troubleshoot and debug because you aren't reliant on a chain of nested formulas or Macros.
Step 4: Select and Reshape the Data You Need
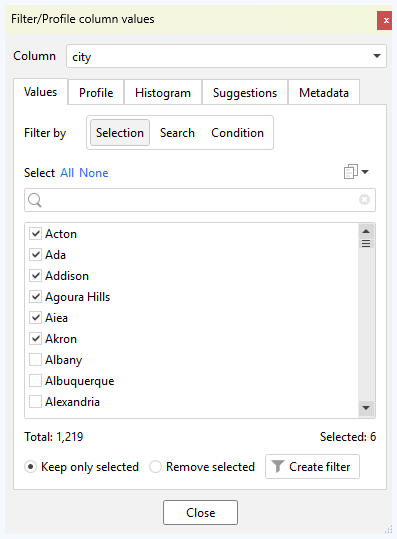
Not every piece of data from your source files belongs on the final report. This stage is perfect for getting rid of data or columns you don't need. In EasyMorph, you can filter rows based on conditions, keeping only the columns that matter.
For instance, you might filter out sales by region (like city) or calculate totals, all within the same workflow and without creating formulas.
There are many ways to reshape your data in EasyMorph, and filtering your data just scratches the surface of what's possible.
Step 5: Export the Consolidated Report
Last, you want to export your finished data into a single Excel file. EasyMorph has a native integration with Excel, so it writes directly to the .xlsx format. And what's cool about this integration is that you can write both new Excel files as well as replace or append data in existing Excel workbooks.
You can also export your final data in different formats, so if you need a CSV file or you need to export it into a database, there's an action for that.
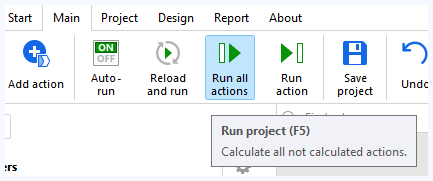
After you've built the workflow, you just need to click "Run all Actions" and the entire chain of actions from file import to export executes in seconds.
Tip: You can also right-click any action in the workflow and select "Send/save to" to export that data to an Excel file.
Making It Fully Automatic
Not all workflows will require automation, but it's important to mention that it's possible to automate your consolidation or reports. If you'd like to consolidate multiple files on a weekly basis, it's completely possible with EasyMorph. Once you download EasyMorph Desktop, a utility tool called EasyMorph Launcher is included.
EasyMorph Launcher allows you to schedule your workflows to run on a daily, weekly, or monthly basis. This means you can easily consolidate your report and it can be waiting for you at any time of the day, week or month. And if you want to run the workflows manually from EasyMorph Launcher, all you have to do is click on the arrow next to one of those workflows.
Tip: Your machine must be on during the time of the scheduled automation. If you have more complex needs, you might want to look into EasyMorph Server, which can run 24/7 and run your workflows in the background, with no manual intervention required.
This is a significant advantage over VBA macros because they require someone to open the Excel file and manually run the scripts.
At a Glance: Manual vs. Macros vs. EasyMorph
| Capability | Manual Copy-Paste | Macros | EasyMorph |
|---|---|---|---|
| Combine multiple file formats | Manual | Yes | Yes |
| Pull from email / cloud / FTP | No | No | Yes |
| Visual data preview | No | No | Yes |
| Scheduled automation | No | Limited | Yes |
| Error handling & logging | No | Limited | Yes |
| Shareable with team | No | Limited | Yes |
| No coding required | Yes | No | Yes |
Practical Tips for a Smooth Consolidation
- Keep source files in a consistent folder structure. When all your Excel files land in the same folder (or subfolders organized by date), your workflow can pick them up automatically without reconfiguration.
- Standardize column names at the source when possible. If you control the templates people fill in, use identical headers across all files. This eliminates the need for renaming steps during consolidation.
- Add a source-file identifier column. Always tag each row with the name of the file it came from. This makes it easy to trace any value back to its origin when questions arise.
- Version your workflows. Save copies of your EasyMorph project before making changes, so you can always roll back if something breaks.
- Add annotations. These will help you remember why each step was added when you come back to modify your existing workflows at a later time.
Stop Copy-Pasting, Start Automating
Consolidating your Excel files doesn't have to mean late nights or hours of long manual work. Whether you're merging sales reports, combining surveys, or pulling together data from different offices, the process should be easy and fast.
Other options like Macros or Power Query offer a great starting point for users who want to combine multiple tables within Excel. But when you need to pull data from different sources, schedule your workflows automatically, see errors visually, and share workflows with other team members, a dedicated tool like EasyMorph gives you better flexibility and control that basic spreadsheet solutions can't match.
If you haven't gotten a chance to try out the free forever version of EasyMorph, you can download it for Windows here: https://easymorph.com/download.html